
Today I have a Stampin’ Up! birthday card idea for you, It uses a variety of products including Storybook Moments suite, Elements of Text Stamp Set and Perennial Lavender DSP.

Key products for this Stampin’ Up! Birthday Card
The three key products to recreate this birthday card are:
- Elements of Text Stamp Set for the text stamping (this is an online exclusive and available HERE)
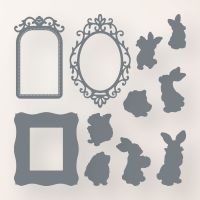
- Storybook Friends dies for the gorgeous frame
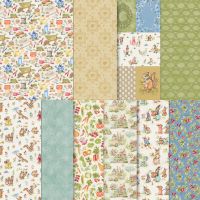
- Storybook Moments DSP as that also includes two sheets of the cute die cut figures. You could easily stamp, colour and cut out another image though,
Here’s a look at the Elements of Text stamp set. It’s a fabulous set for backgrounds, layering and also adding a bit of the grunge look to your projects.

Here’s a look at the Storybook Friends dies for the frame.

Here is a look at the Storybook Moments DSP. This image doesn’t show the two 12×12″ die cuts that come with it though (they are die cuts of the characters and garden themed images).

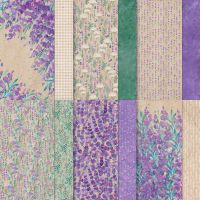
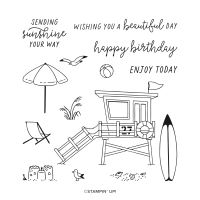
Other things you will need are a birthday sentiment and label, linen thread and a base DSP. For the DSP I used this natural crumb cake gingham piece from Perennial Lavender DSP (which is carrying over into the new catalogue), but you could also use one of the less busy pieces from the Storybook Moments DSP. My sentiment is from the Beach Days stamp set which is currently on the Last Chance section of my online store and now only available while stocks last.
Instructions for this Stampin’ Up! Birthday Card

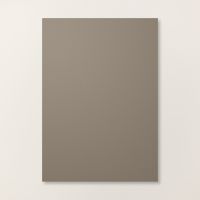
- I started with a base of Pebbled Path cardstock. This is one of my favourite colours but unfortunately it is an InColor from 2023, so it is retiring on May 6th or before if sold out. You can find it in the Last Chance section in my online store.
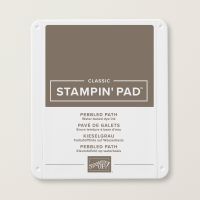
- Next I used Pebbled Path ink to stamp the Elements of Text images on the card front.
- I die cut two of the frames – one in Pebbled Path and one in the DSP. For the DSP one, I stamped one of the text images over the top of that too (stamped off once). I inserted the oval piece inside the frame and held them together with some Tear ‘ n Tape on the back.
- The DSP is cut the width of your card base and about 2cm shorter then each edge of the frame.
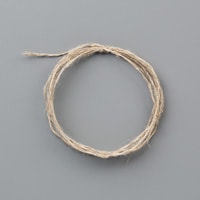
- Tie some linen thread around the DSP several times before and make a bow on the right side.
- Adhere the frame using Dimensionals, and then the birthday label and the plant die cut adhered directly to the frame using glue or Stampin’ Seal.
- Add the last die cut with Dimensionals.
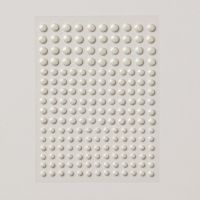
- Finally embellish with Antique Pearls
April Specials Reminders
Check out this post to see the FREE new catalogue product gifts you can earn with purchases from me in April!

Retiring Products from the 2025 January to April Mini Catalogue and the 2024-25 Annual Catalogue are now in the Last Chance Section in my online store.
- Find Retiring Products from the 2024-25 Annual Catalogue HERE.
- Find Retiring Products from the 2025 January to April Mini Catalogue HERE
Let’s Keep in Touch
Thanks for stopping by today. To keep up with all the news and get weekly project ideas, subscribe to my subscriber newsletters (Subscribe HERE). Better still, purchase from me to get the VIP treatment with free catalogues, awesome customer service and extra free project ideas!
See you again soon, If you would like to ask any questions about today’s project, please contact me.
Claire
Product List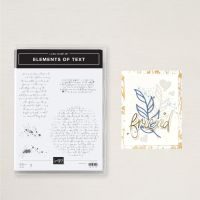


0 Comments