
Today I want to share a couple of quick and easy patterned paper card ideas. These ideas can be used with any type of patterned paper, but work particularly well with scenery paper.

Card 1
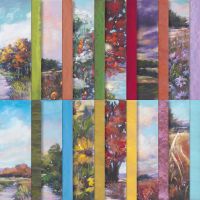
For my first quick and easy patterned paper card, we are making a card with a cut out centre piece. This patterned paper is the Splendid Autumn Designer Series Paper (DSP). It has some really great autumn scenes, but I particularly like this sunflower piece.

Here’s how to make this card:
- Start with a standard sized top folding card (I used Highland Heather).
- Secondly, cut a layer of patterned paper slightly smaller (don’t adhere yet).
- On the reverse of this piece of patterned paper, draw a line 1 ” or 2.5cm from each edge. This will create a centre rectangle which you can then cut out with a paper trimmer.
- Adhere the patterned paper (minus the centre rectangle) to the base card.
- Adhere the centre rectangle piece to another piece of cardstock the same colour as your base.
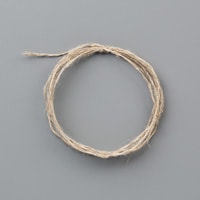
- Next, tie a double strand of linen thread around the bottom and tie a bow on the right hand side.
- Adhere this piece (using Dimensionals) over the centre cut out piece on the card front.
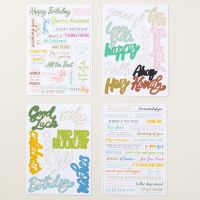
- Adhere a greeting top left. I used one of the sentiments from the Saying Something pack in the Annual Catalogue.
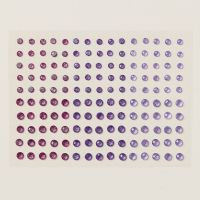
- Finally add three adhesive embellishments around your sentiment (I used Purple Fine Shimmer Gems).
Card 2
For my second quick and easy patterned paper card, we are making a three panel card. This paper is also from the Splendid Autumn DSP.

Here’s how to make this card:
- Start with a side folding standard sized card. For metric measurements this is half an A4 piece of cardstock cut down the centre vertically and then folded.
- Secondly, I have embossed the card front with the Distressed Tile embossing folder. Another option is to stamp onto the card front using the same colour ink as your cardstock.
- Cut a piece of the DSP 11.6cm x 7.6cm (or 4 1/2” x 3 1/4”). Divide evenly into 3 pieces (so each piece is 3.8cm x 7.7cm or 1 1/2” x 3 1/4”), Ink the edges with either Boho Blue or Misty Moonlight ink.
- Next, cut a piece of cardstock (the same colour as your base card) 12cm x 8cm (or 4 3/4” x 3 3/8”). Attach the DSP pieces allowing an even border of 2mm or 1/16” all round. The easiest way to do this is to attach the centre one first and then the outside ones.
- Tie a double strand of linen thread around the bottom of this piece, with the bow on the right.
- Attach the whole piece to the card base using Dimensionals.
- The final step is to add the sentiment top left. Again, I used one of the sentiments from the Saying Something pack in the Annual Catalogue.
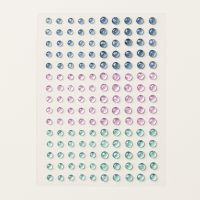
- Finally, add some adhesive embellishments around your sentiment. For this one I used the Tinsel Gems Three Pack.
Other cards like this
If you are interested in instructions and measurements for other scenery patterned papers, I have a 5 card PDF class in my store using the Thoughtful Journey DSP in the 2024 Annual Catalogue. You can find that HERE, or just click on the image below.

This blog post also has two more cards using Thoughtful Wishes DSP.

Thank you for visiting my blog today. You can purchase all of the products I have used in today’s post using the links at the end of post. If you have any questions about any of today’s projects, please contact me as I would be happy to help.
November Host Code
You can earn gifts by shopping with me in November. Anyone who orders $50 or more with me in November, will be receiving a small product gift in November.
If your order is $75 and $250, you can also get additional gifts by shopping online and using the monthly host code below. If your order is over $250 you get to choose your own Stampin’ Rewards at time of ordering, so don’t use the host code.

Subscribe to stay up to date with Stampin’ Up! news & offers
Make sure you either subscribe to my blog posts by email (best for demonstrators and crafters outside Australia) or subscribe to my newsletter (best for Australian crafters) to stay up to date with everything that is happening.

Thanks so much for checking in today. See you again in a day or two!
Claire
Product List


0 Comments